
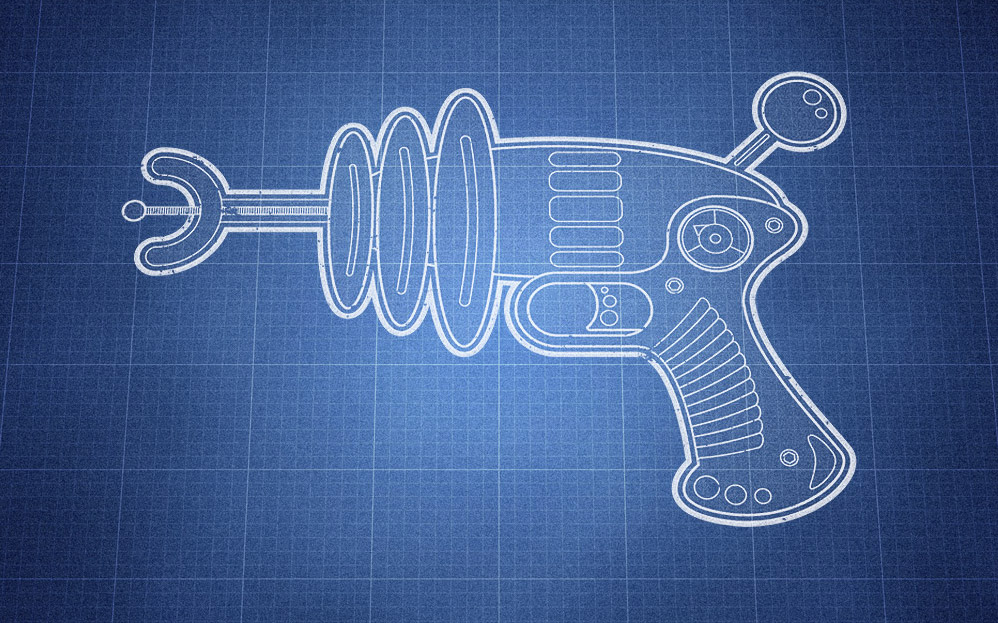
The ray gun illustration we’ll be creating uses varied line weights in place of colour to achieve that technical drawing appearance. The whole design is built using fairly simple shapes, with layering of elements helping add to the overall detail.
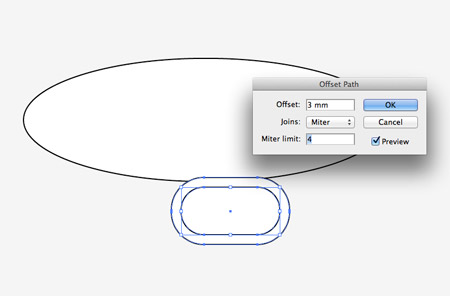
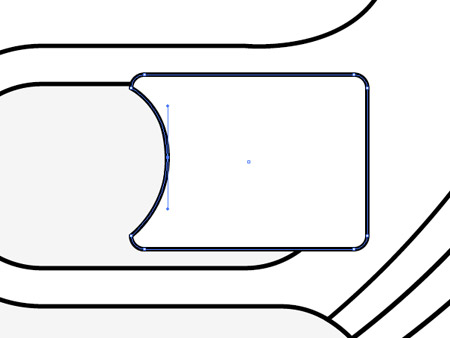
Open up Illustrator and draw a large ellipse on the artboard, followed by a rounded rectangle with the maximum corner radius. With the rectangle selected go to Object > Path > Offset Path and give it a 3mm offset.
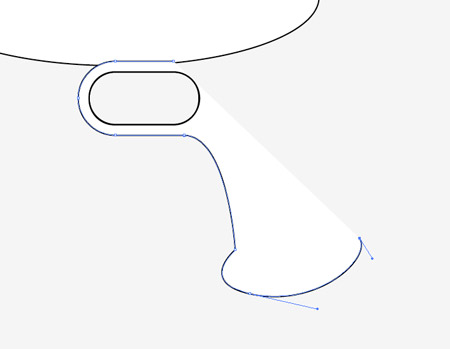
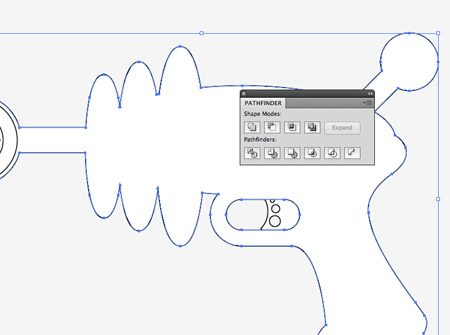
Delete away the points on the right edge of the outer rectanlge, then use the Pen tool to continue its path and create a new shape outlining the pistol grip of the ray gun. Return the path back to the open end of the rectangle and join the ends together.
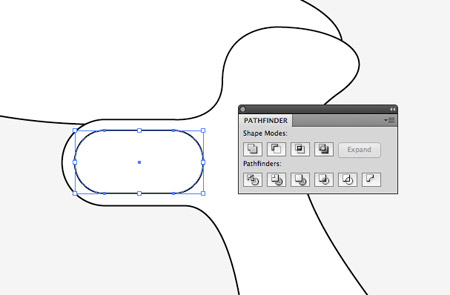
Select the inner rectangle along with the new grip shape and hit the Subtract button from the Pathfinder to punch out the shape.
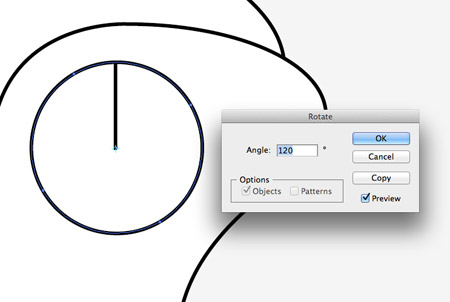
Draw a circle in the upper portion of the grip area, then add a vertical line running from the centre to the edge. Grab the Rotate tool, select the line then ALT-click the centre of the circle to add a pivot point. In the options, enter 120 degrees and hit copy. Press CMD+D to repeat the transformation to create three evenly spaced lines.
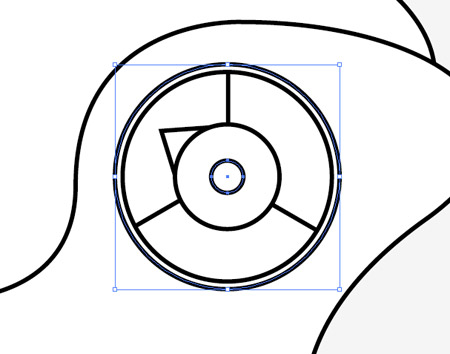
Copy and Paste in Front (CMD+F) the original circle then scale duplicates to various sizes to create a power gauge. Adjust the stacking order with the shortcuts CMD+[ and CMD+].
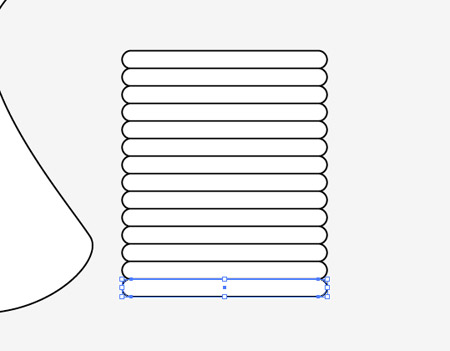
Draw a long thin rounded rectangle elsewhere on the artboard, then click and drag while holding ALT and Shift to create a duplicate. Release the mouse when the duplicate is aligned exactly with the original, then repeatedly press CMD+D to form a series of perfectly aligned shapes.
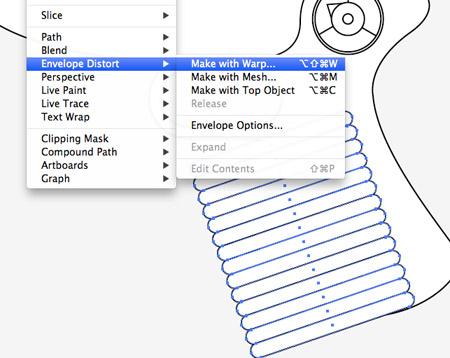
Select all the shapes and move them into position over the grip. Go to Object > Envelope Distort > Make with Warp.
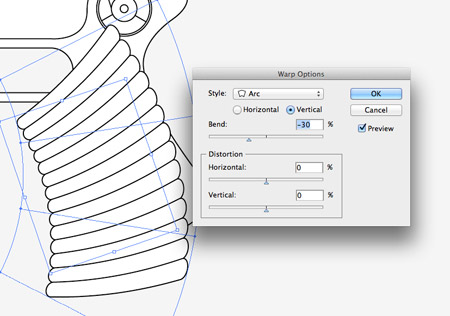
Change the direction to Vertical, then adjust the amount to warp the rectangles to match the curvature of the grip handle.
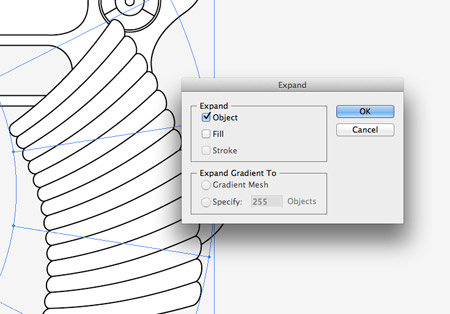
Go to Object > Expand and select just the Object option to convert the warp effect into solid shapes.
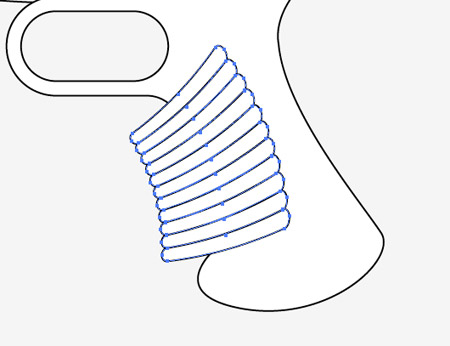
Ungroup the rectangles and delete the excess, then scale the shapes into position on the ray gun grip. Make a Compound Path of these shapes by hitting CMD+8.

Copy the grip shape and paste in front, then select both the duplicate grip and the series of rectangles and hit the Intersect option from the Pathfinder palette to trim them to size.
Add another rounded rectangle to the trigger area, this time with a small corner radius. Use the Pen tool to add a point halfway down the left edge, then move this point inwards and add bezier handles to produce a curved edge. Press CMD+Shift+[ to send this object to the bottom of the stack.
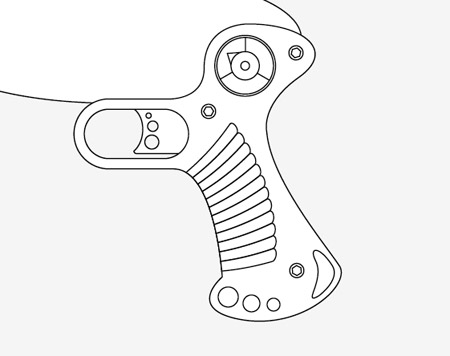
Add a range of detail elements to the grip area, including circles, hexagons and random shapes with the pen tool.
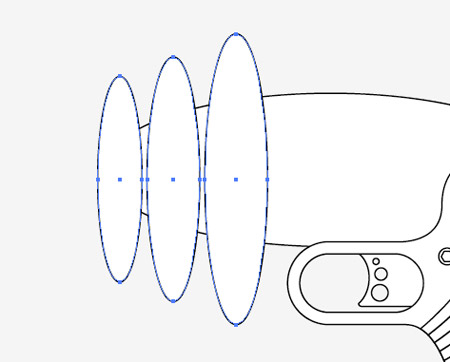
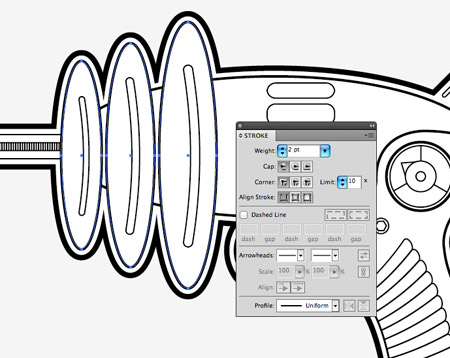
Add three ellipses to the upper portion of the ray gun at ascending sizes then space them so they each have the same gap between them.
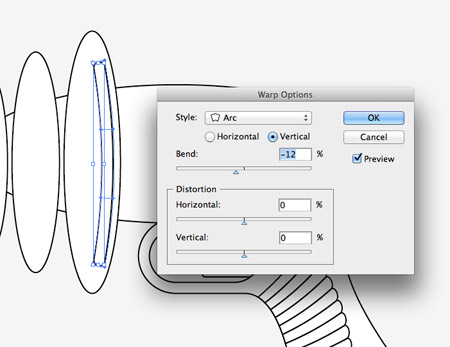
Draw a long thing rounded rectangle and add a Warp to bend the rectangle to match the curve of the ellipse. Copy, scale and position duplicates of this rectangle onto each ellipse.
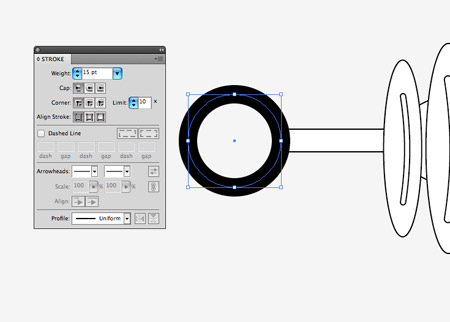
Create a simple rectangle to represent the barrel of the ray gun, then add a circle with a thick stroke and no fill.
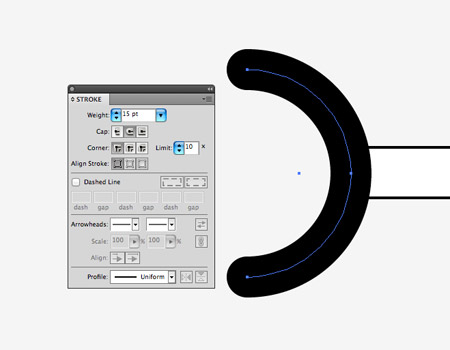
Select the left most point of the circle with the Direct Selection tool and delete it to form a semi-circle. Select the Round Cap option from the Stroke palette to round off the ends.
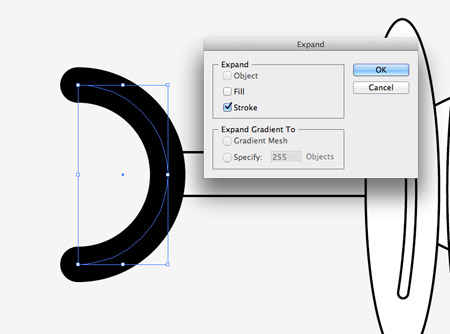
Go to Object > Expand and select the Stroke option to covert this path into a solid shape, then give it the default white fill / black stroke.
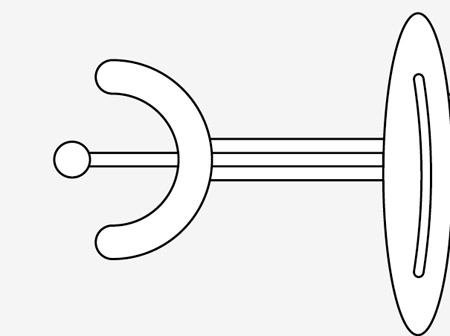
Finish off the end of the ray gun with various circles and rectangles. Use the Align palette to ensure they’re all lined up horizontally.
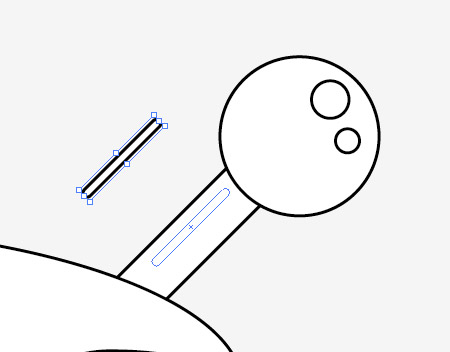
Use more simple shapes to create an antenna like object on the rear of the gun. Hold Shift when rotating elements to constrain them to 45 degrees.

The overall ray gun design is complete, but let’s enhance the illustration with some additional linework. Select all the major shapes that form the ray gun outline then add a 1.5mm Offset Path.
With the offset path shapes still selected hit the Merge option from the Pathfinder palette to blend them all together. Send all these shapes to the bottom of the stack using the shortcut CMD+Shift+[.

Draw a small vertical line inside the barrel rectangle, then make a duplicate by clicking and dragging while holding Alt and Shift. Repeatedly press CMD+D to repeat the transformation until the whole barrel is filled with this line pattern.
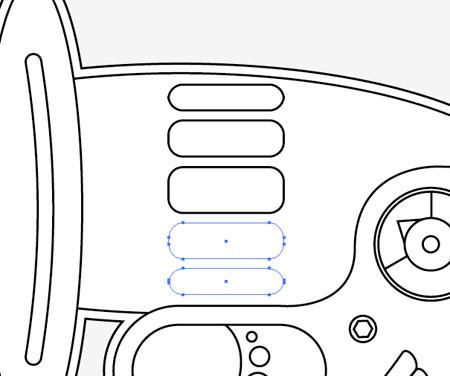
Draw a range of rounded rectangles to fill out the space on the main body of the gun with some detail. Draw a narrower shape towards the edges to give the impression of a curved surface.
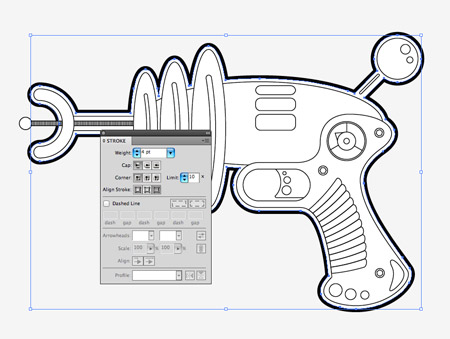
Now let’s adjust the weights of the linework to really define the shapes and enhance the illustration. Increase the weight of the outer stroke to 4pt and align it to the outside.
Select the major objects within the illustration and increase these to 2pt, leaving the finer details at the default 1pt weight.
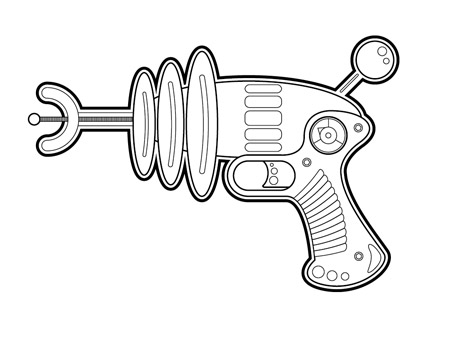
This leaves our ray gun illustration complete. The design has enough definition to work as a pure linework illustration, or colour could be added to take the design further.
Tidak ada komentar:
Posting Komentar