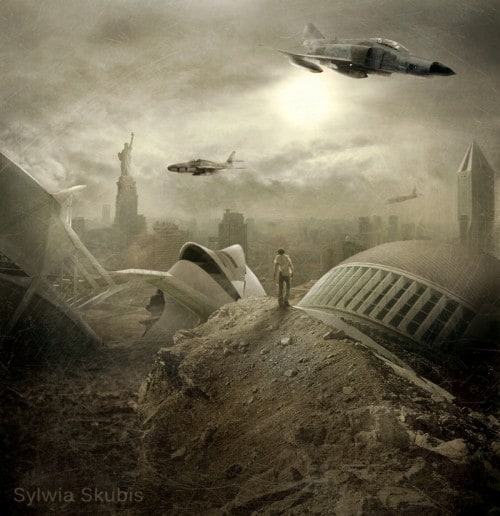
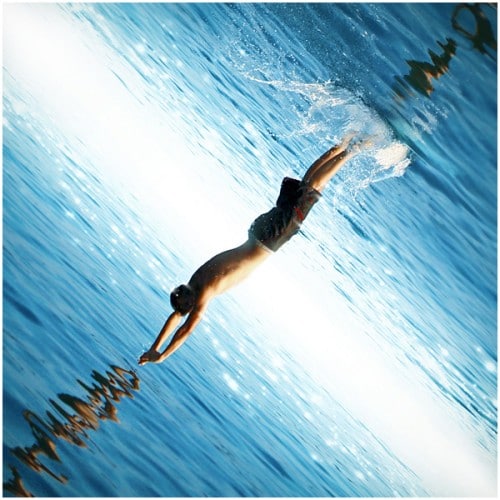
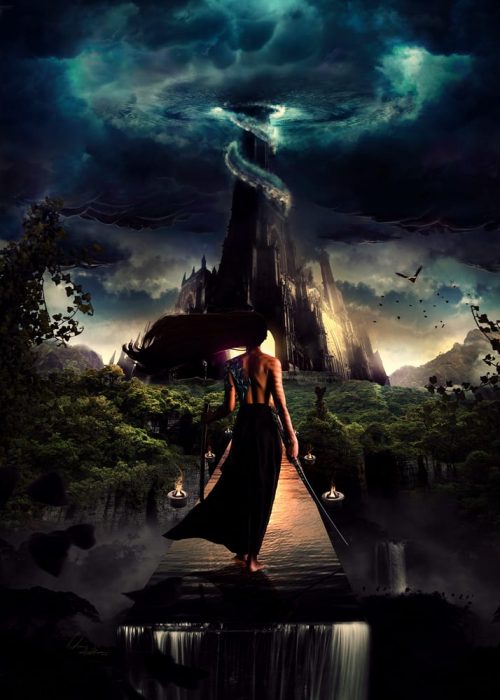
Note: The Photoshop tutorial is done in CS6 – therefore some screenshot may have slighting different layout as in the earlier version.Here is a preview of the final effect I have for this tutorial: (click to enlarge)

Step 1
Create a new document sized 1400px * 800px with black background, load the ground image into Photoshop and use the Rectangular Marquee Tool to select the ground texture as shown below:
Paste the selection onto our document, use a big soft eraser to fade the edges on the ground as shown below:
Hint: set the eraser flow and opacity to around 40%, this will ensure you don’t erase too much of the ground in one go.

Add the following 2 adjustment layers on top of this ground layer:
Black and White

Levels

and here is the effect so far:

Use either the cloud filter or a cloud brush to paint some cloud/mist over the ground:

Step 2
Use the type tool to type a “O” letter on top of the ground:
Load the selection of this type letter and mover the the selection over the rock texture:

Copy and paste the selection over to our document:
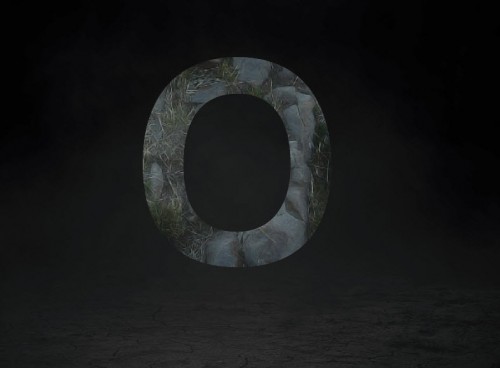
Again we use a soft eraser to fade the edge of the rock texture, as well as removing some parts of the texture to break it apart:

Add the following 3 adjustment layers as clipping mask to this rock layer:
Black and white

Levels

Curves
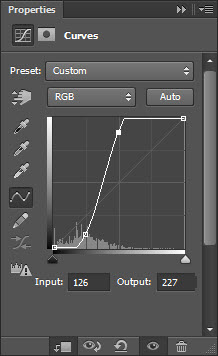
and you will have the following effect so far:

We will add some surround cloud to the rock to add some dramatic effect to it:

We can add a soft shadow to the ground with a soft black brush:

Step 3
We will add some small rocks around the circle to form the break apart effect – use the quick selection tool to select a few small selections: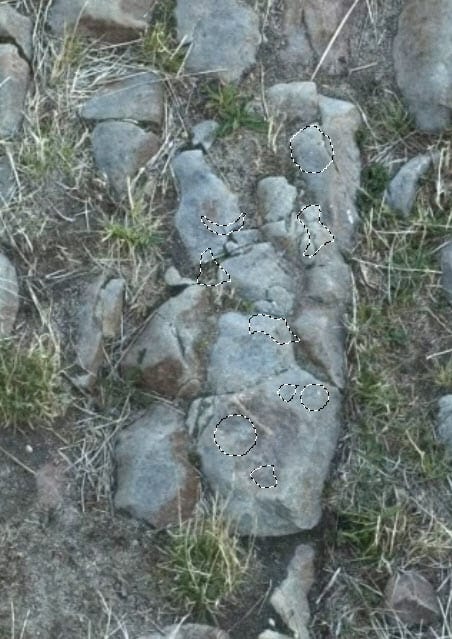
Copy and paste the selection over to our document, apply the black and white adjustment to the selection and change the blending mode to “screen”, duplicate this small rock layer once and move it to the opposite side of the circle:

We can also duplicate this small rock layer once and apply the Twirl filter effect to it:

and this will form a flying effect as shown below:
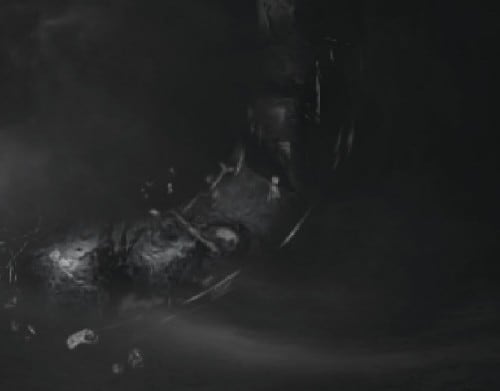
Duplicate this flying particle layers a few times and move them to different parts of the circle, as shown
below:

Step 4
Now we can fine tune the effect a bit – we can go back to the rock texture and select a few more pieces and attach them to the circle:Hint: apply the black and white adjustment to blending those addition layers in with the rest of the rocks.

Use the Warp Tool to adjust the shapes of the rock as you see fit:

We can add some colour effect to the image, and here is the final effect I have: (click to enlarge)


