


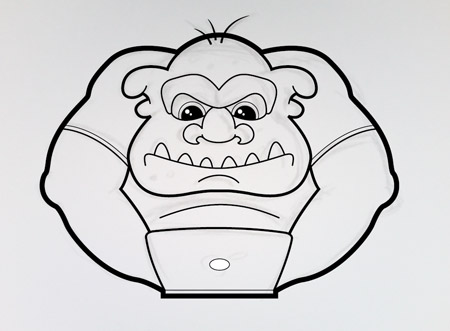
The grumpy troll character we’ll be creating is made up of four basic steps. First the sketch lays out the foundations of the character, the linework digitises the character in vector format, then colour fills and shading bring the character to life as a complete cartoon style mascot.
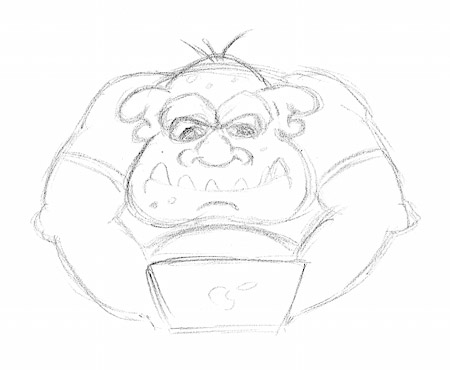
The troll character begins as a pencil sketch on paper. We want to pull together the common traits and stereotypical features of both mythological trolls and the act of Internet trolling, so our rough sketch features an ugly troll slouched over a tiny laptop. With this character being pretty symmetrical, you can concentrate on just one half of the sketch and flip the vector artwork to complete the whole character.
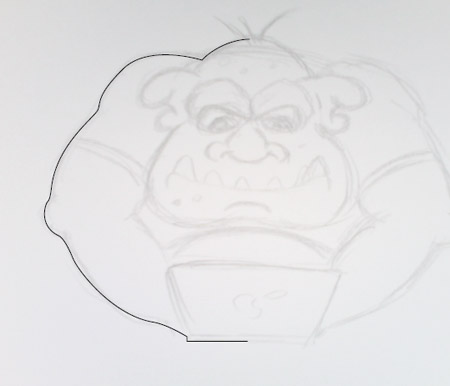
Use the pen tool tool to trace the outline of the character on a new layer. Remember to stop at the halfway points so the line can be copied and flipped to keep the character symmetrical.
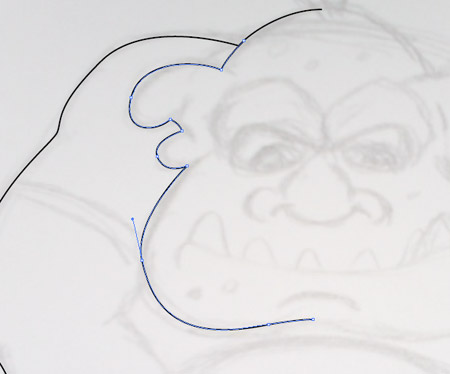
Start a new path and follow the main outline of the troll’s face. Points can either be clicked and dragged to create a smooth curve, or you can click an open point to remove the bezier handle for a sharper angle.

Copy (CMD+C), paste in front (CMD+F) a duplicate of the linework, then go to Object > Transform > Reflect. Position the flipped linework on the opposite side then select and join the open points with the Direct Selection Tool to form complete shapes.

Begin tracing the inner detail of the character with open paths. Often these lines will overlap other paths at each end.
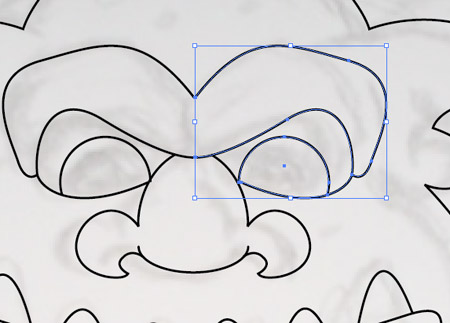
Finish off the eyes to complete the facial features. Some shapes like the pupils can be created with basic shapes like the circle tool then clipped to size with the scissors tool.
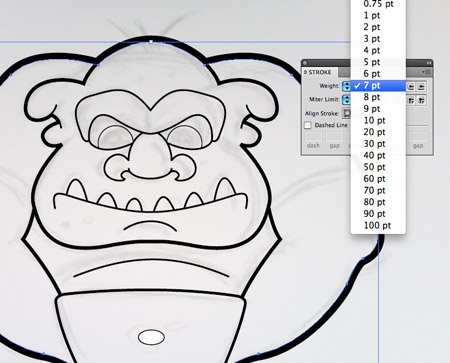
Once all the linework is complete we can add variations in weight to emphasise details. Begin by increasing the main outline to around 7 pt.
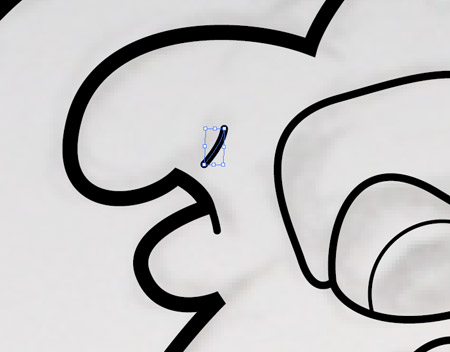
Draw short paths with a round cap stroke and position them over the main stroke to add depth and dimension to the linework.
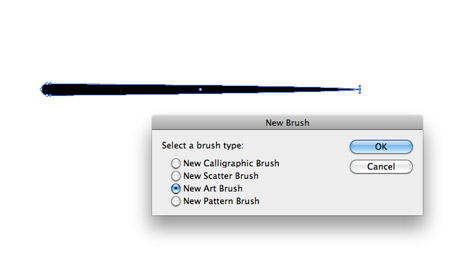
Elsewhere on the document draw a small circle. Drag the right most point horizontally, then click the ‘new’ icon in the bottom of the Brushes palette. Choose the Art Brush option.
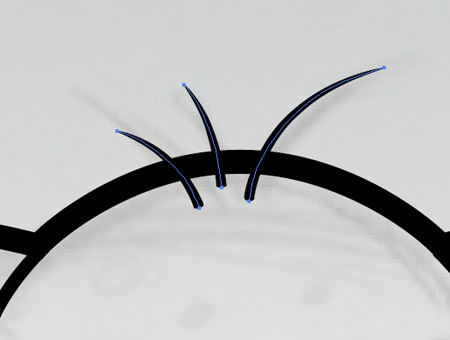
Draw a few paths and apply the brush to create a group of tiny hairs on the troll’s head.
Adjust the stroke weight of various lines so the weights become finer on the more detailed elements. Use 4 pt on the outline of the face and arms, 2pt on the facial features then 1pt on tiny details like the t-shirt seam and iris outline in the eyes.
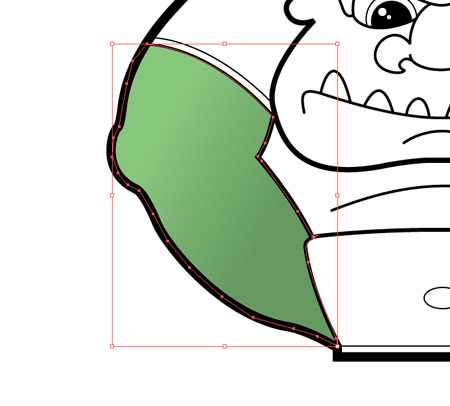
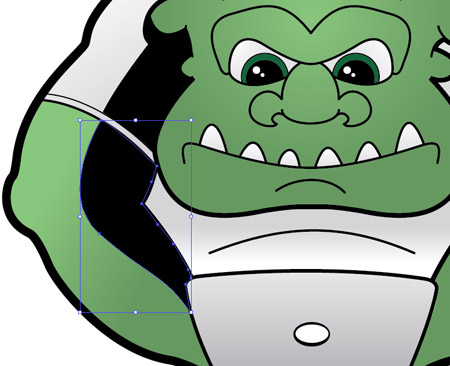
Create a new layer underneath the linework, this will be our colouring layer. Roughly draw an outline around the arm, staying within the black stroke area. Give this shape a green gradient fill.
Continue tracing other areas of the character that require this same green fill then adjust the flow of the gradient to suit.
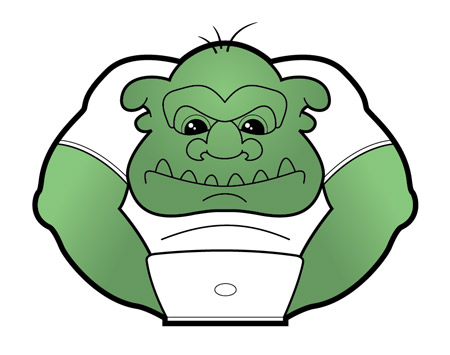
Repeat the process, but this time using a subtle grey to white gradient fill. Trace the shapes around the t-shirt as well as the eyes and teeth on the face.
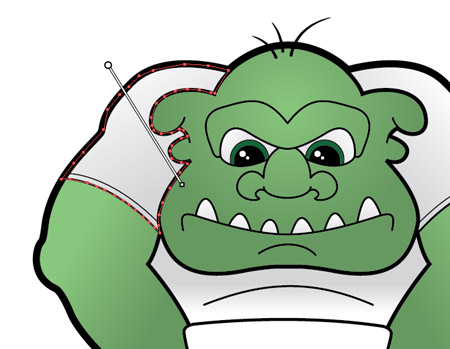
Create a new layer and name it ‘Shading’. Use the pen tool to roughly trace a portion of the black linework, then finish off the shape with a smooth path flowing across the inner areas of the character.
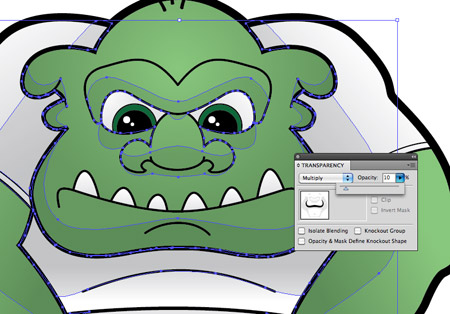
Add more black shapes across the face and body, then change the Transparency to Multiply at 10%. These simple shapes bring the character to life with subtle shading.
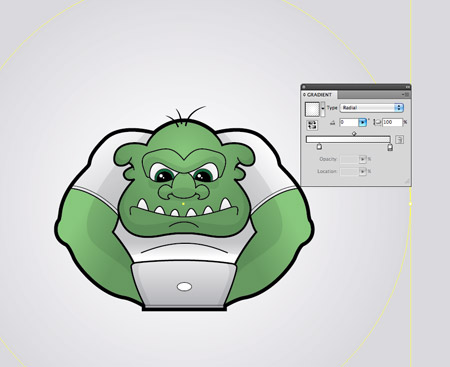
Add a background behind the character with a large grey rectangle and white gradient circle.
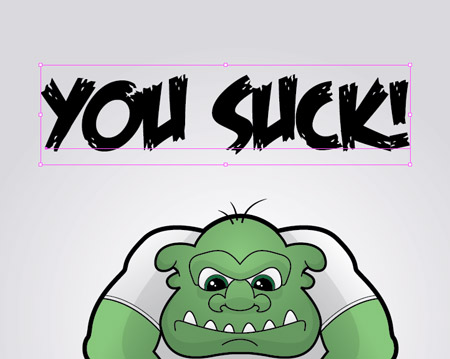
Our troll character wouldn’t be complete without a derogatory comment. Here I’m using a freebie font named Feast of Flesh.
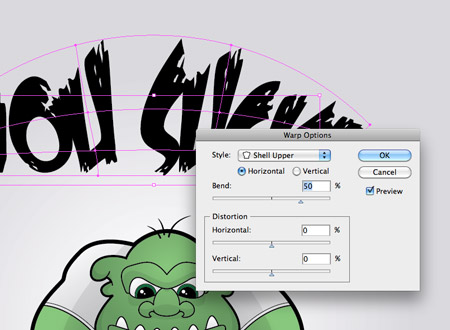
Manipulate the text by heading to Object > Envelope Distort > Make with Warp. Adjust the settings to Shell Upper with 50% bend.
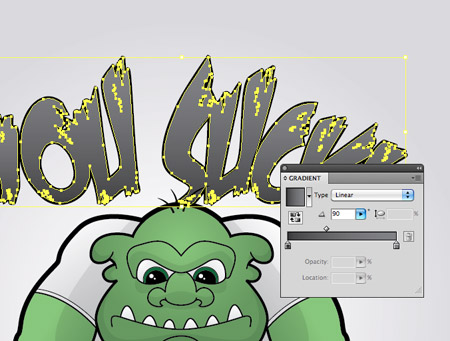
Give the text a grey gradient and black stroke to match the styling to the style of artwork used on the main character.
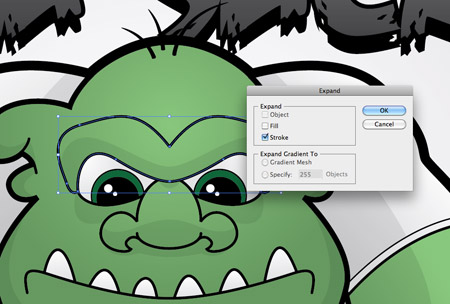
The character is just about complete, but there’s a few extra little tweaks we can make to the linework on the facial features. Select the brow outline and go to Object > Expand. Select just the Stroke option.
Use the Direct Selection tool to carefully nudge certain points outwards to add variation to the width of the stroke.
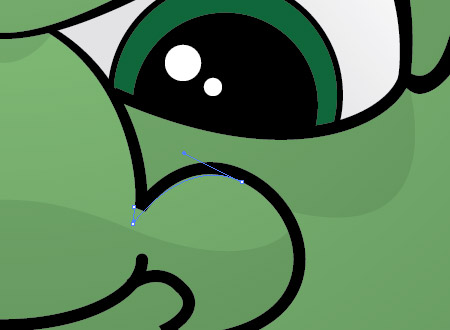
Repeat the process on the line that makes up the nose. Some points can be moved to create a sharp edge in place of the original square corner.

These little variations in thickness simply add an extra level of depth and detail when compared to the basic stroke.
Our grumpy old troll character is now complete. The simple techniques of varied linework, gradient fills and basic shading really help add depth and definition which brings the character to life.
Tidak ada komentar:
Posting Komentar