
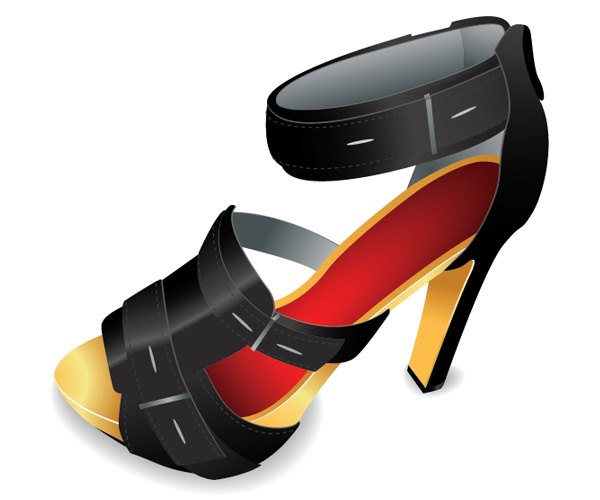
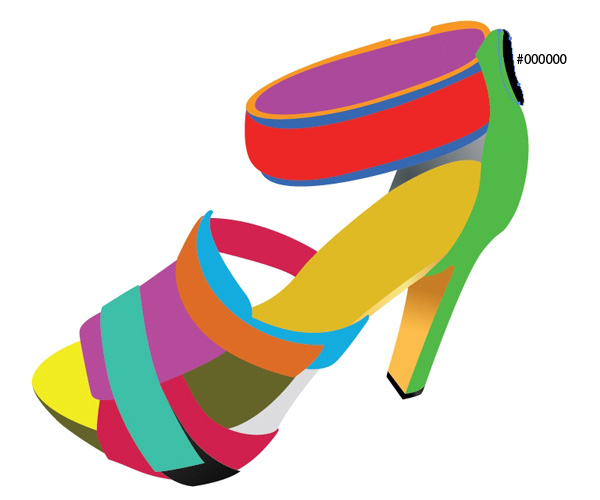
Preview
Tutorial Resources
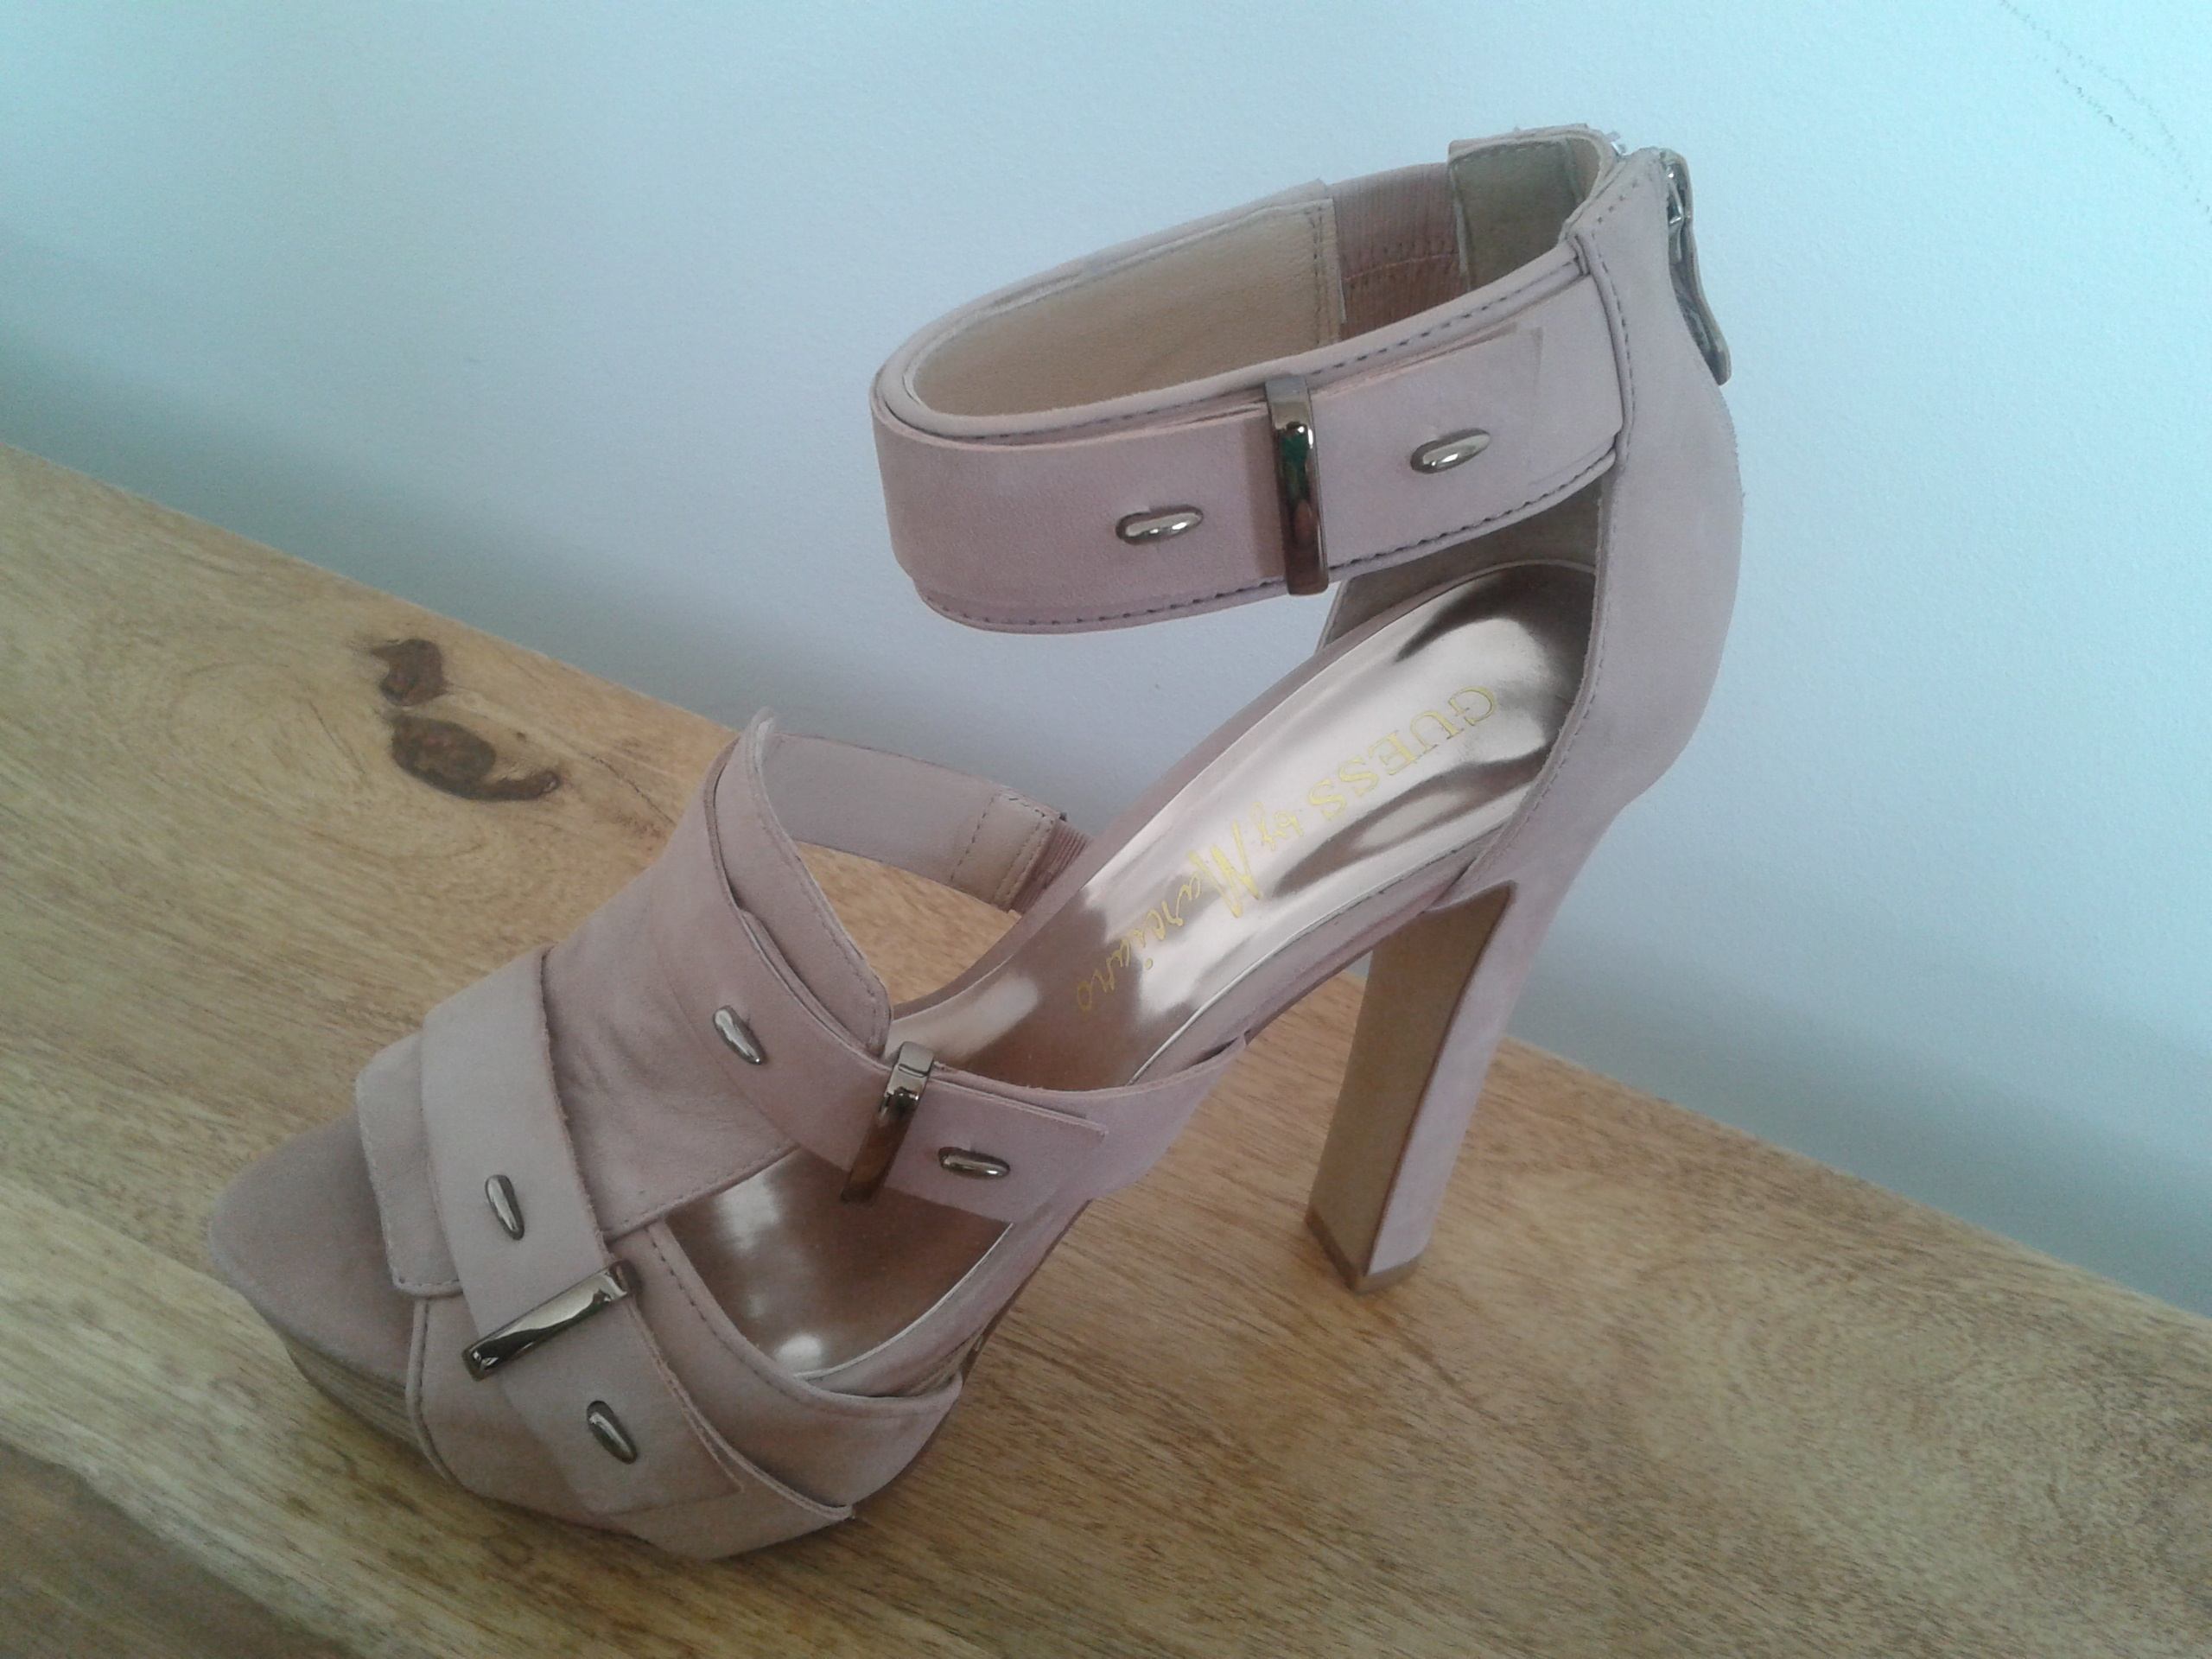
- Stock photo: Jasmina’s High-Heeled Shoe
Step 1: Trace the Photo with the Pen Tool
Download our reference photo and then open it in Adobe Illustrator. If you’d like to use your own shoe, feel free to do so!
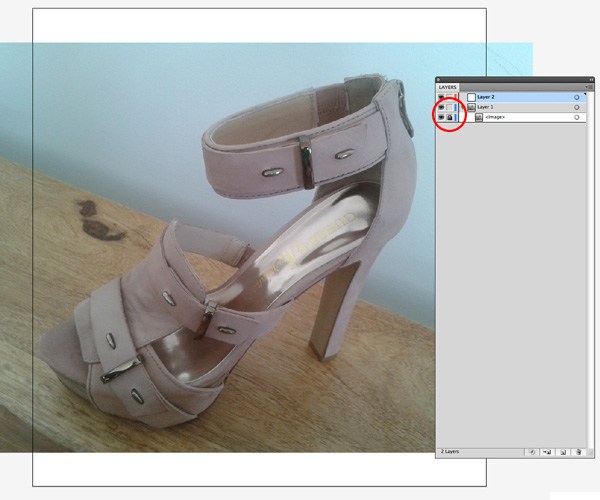
In the Layers Panel, lock the reference image’s layer by clicking on the empty box beside the eye icon so we don’t accidentally move it around as we work. If done correctly, it should have an icon of a padlock indicating the layer is locked.
After that, create a new layer on top of the reference image layer.
Grab the Pen Tool (P) and start tracing the image. We’ll partition the shoe into small parts so that we’ll be able to manipulate them individually later on.
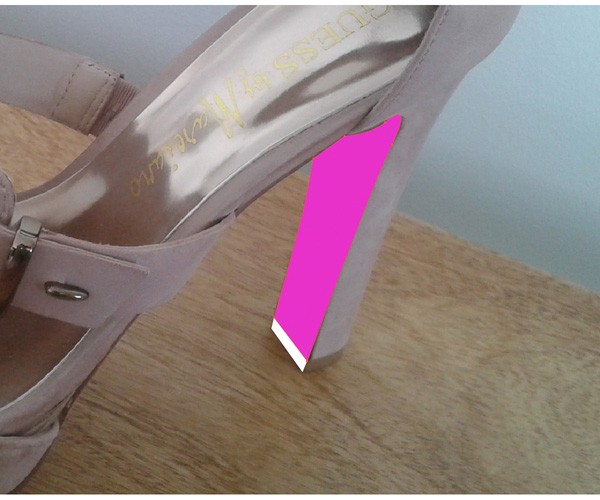
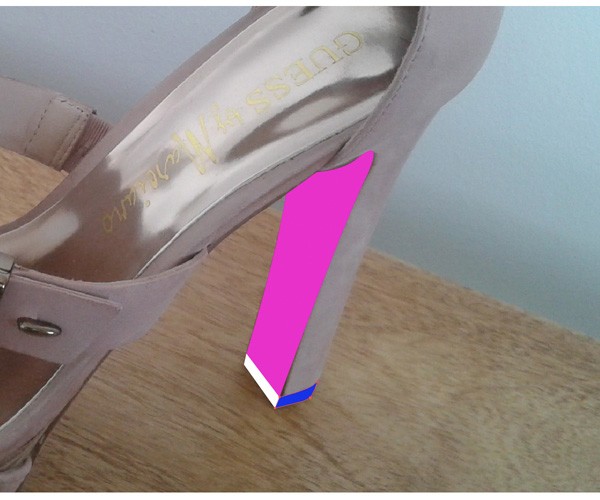

Your tracing doesn’t have to be perfect at first because you can always adjust your vector paths later on. Also, some parts of the shoe will be hidden behind other parts, so don’t worry if some of the edges aren’t completely perfect. We just need to make sure we’re creating smooth paths.
Let’s continue tracing. You can choose different Fill colors for each part of the shoe so we can see them better.
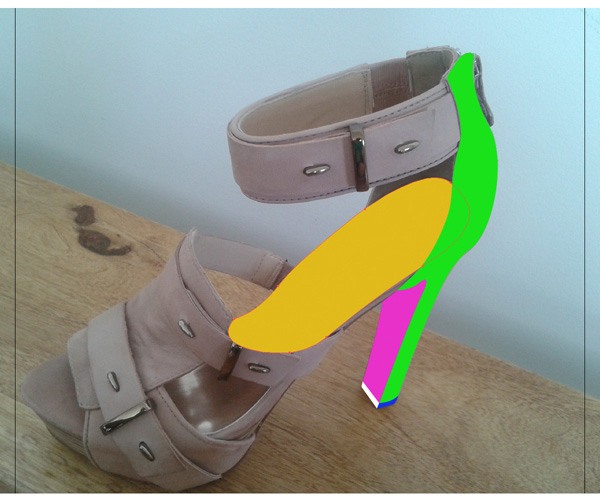


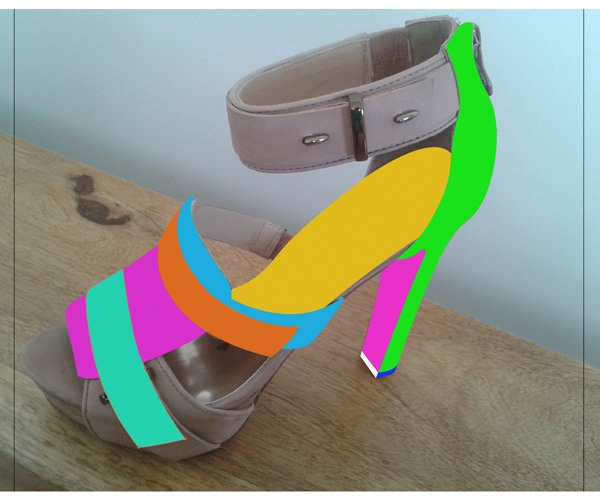

You should end up with something like the image below (note that I’ve hidden the reference photo temporarily):

Those are actually all of the parts we have to create.
I have to admit, right now, our work doesn’t look like a shoe I’d wear in public. That’s what we’ll work on next.
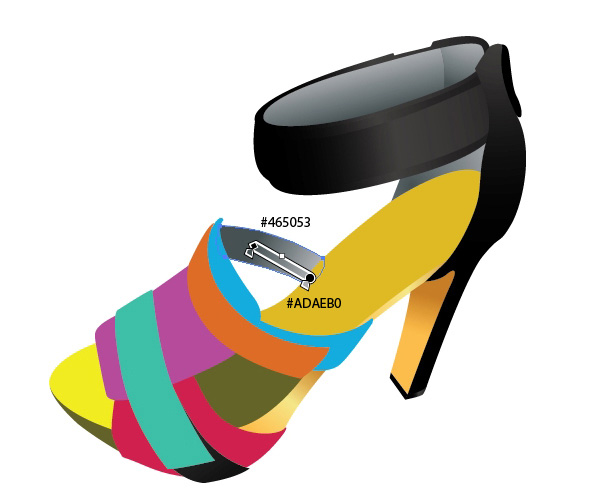
Step 2: Applying Colors and Gradients
Now, it’s time to apply some nice fill colors and color gradients to our vector objects.Make sure to have the Gradient Panel open by going to Window > Gradient (Ctrl/Cmd + F9) because you’ll be using it extensively throughout this step.
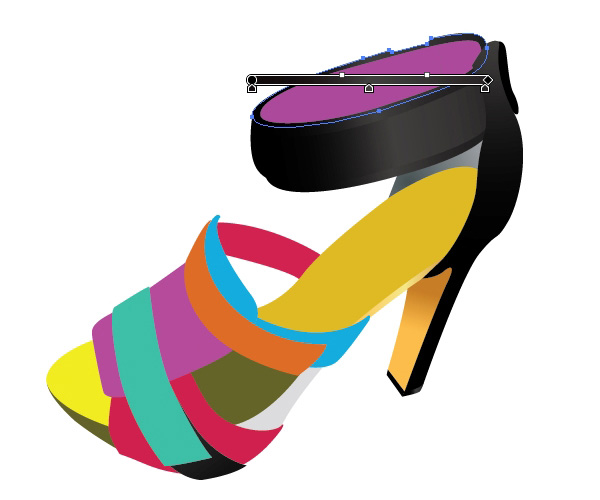
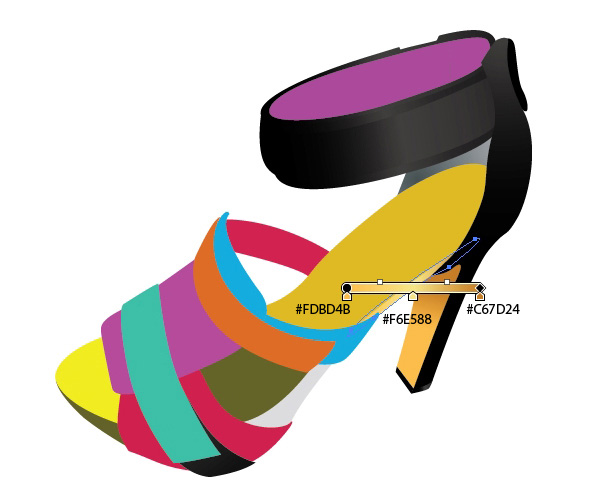
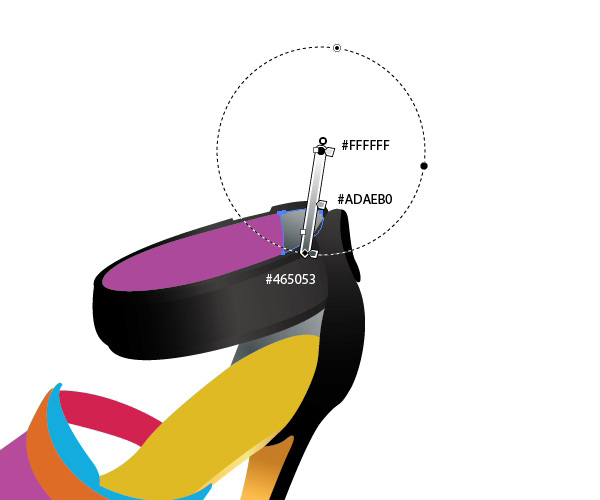
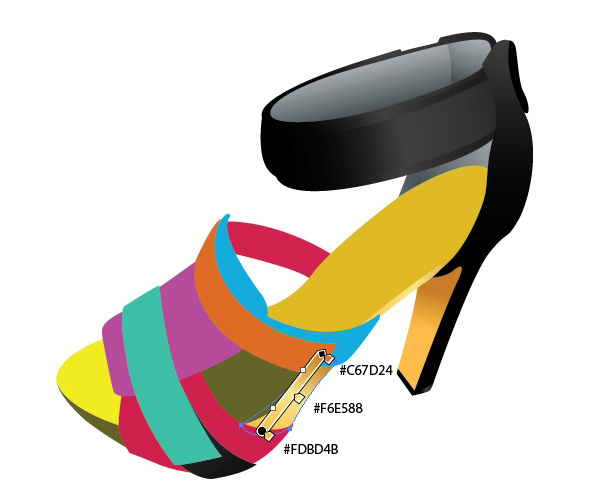
Use the images below to see how to color each part of our high-heeled shoe illustration.
Use the same color gradient above for the strap by clicking on the strap to select it, choosing the Eyedropper Tool and then clicking on the vector object above to set the strap to the same color.
Do the same (use the same color gradient) for the strap’s edge.
Continue filling in the unfinished parts of the shoe.

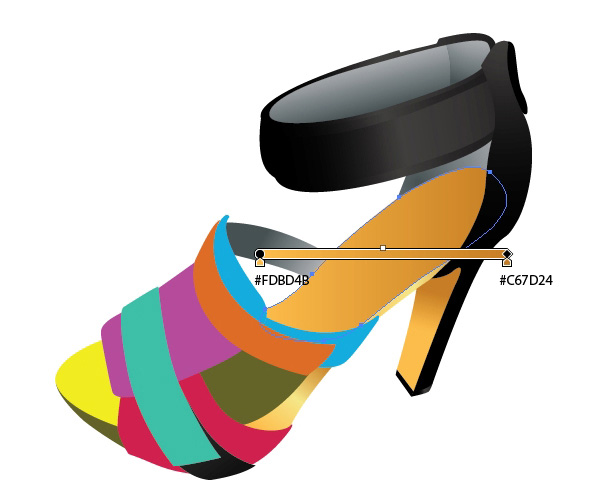

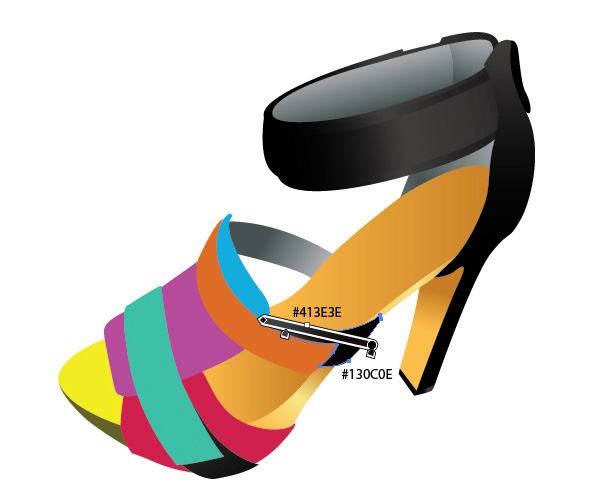
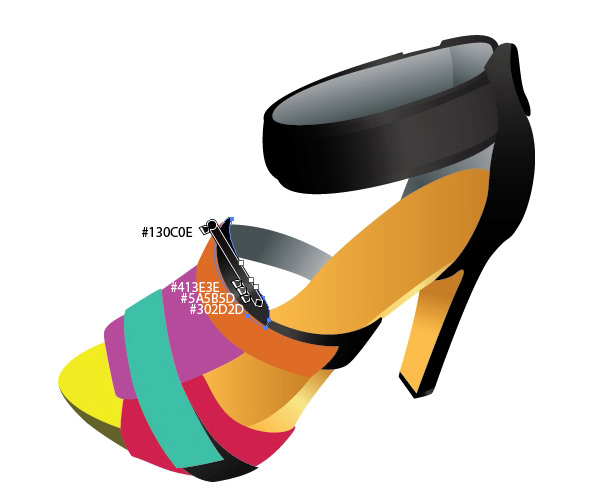
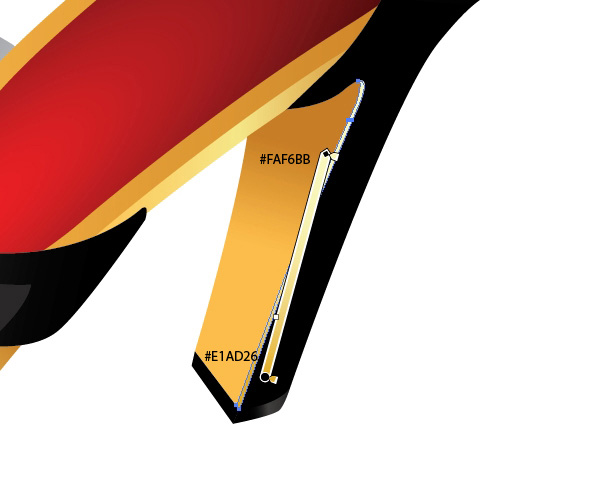
You’ll notice that we’re using the same gradients for the other parts of the shoe (we’re only changing the gradient’s starting position and its angle).

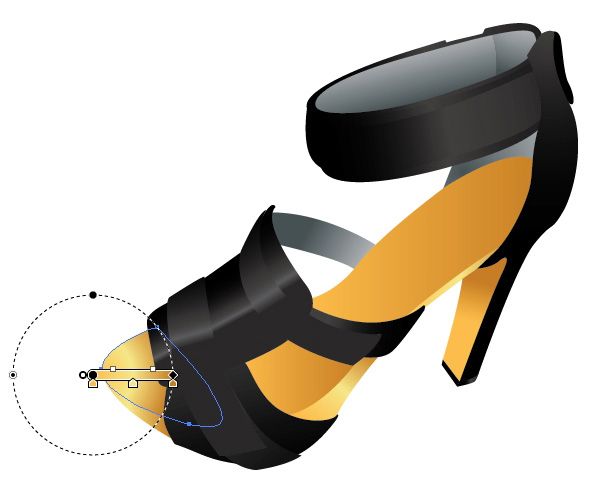
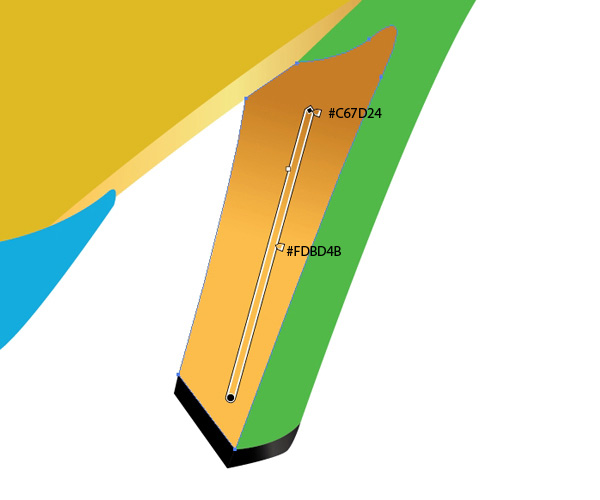
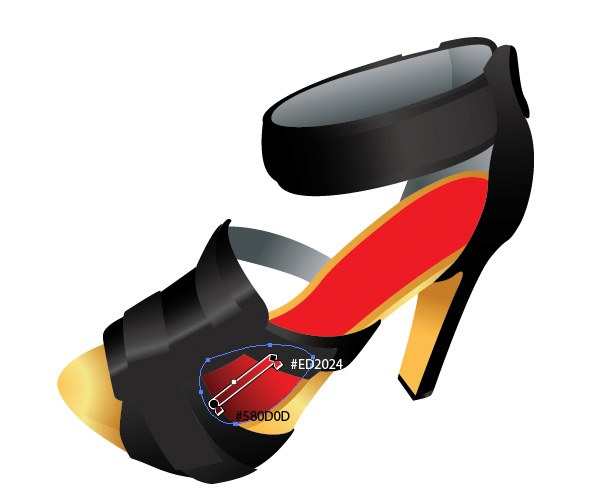
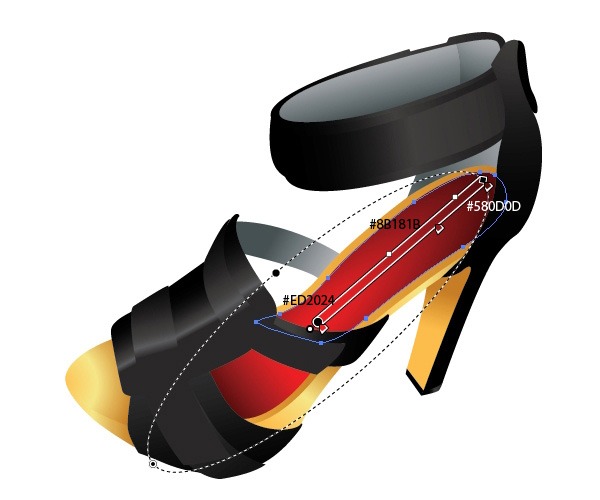
Step 3: Create the Insole Surface
Select the inner side of the shoe and then go to Object > Path > Offset Path. Set the Offset value to -5. Repeat this process for the lower part of the shoe.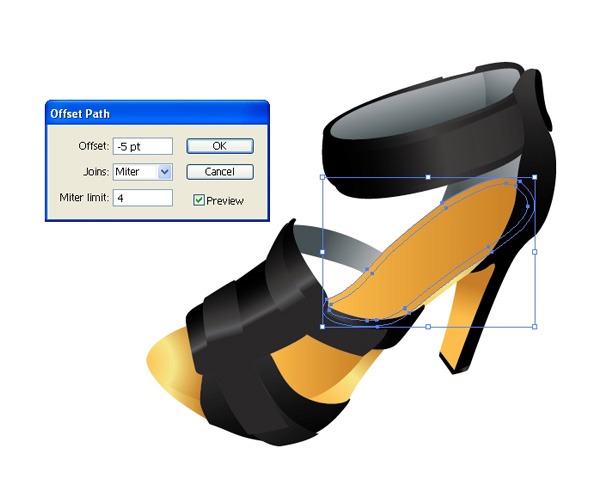
Apply a red color gradient on the new path.
Step 4: Adding Highlights
We could say that our shoe is finished, but since we’re trying to make the illustration as realistic as possible, we need to give it some highlights.Select the inner part of the heel and then duplicate it twice by first copying it (Ctrl/Cmd + C) and then pasting in front (Ctrl/Cmd + F) two times.
Nudge one of the duplicates to the left by 1px using your Left Arrow key.
Next, select both the duplicates and then, in the Pathfinder Panel, hit the Minus Front button.

Apply a subtle gradient to the resultant object.
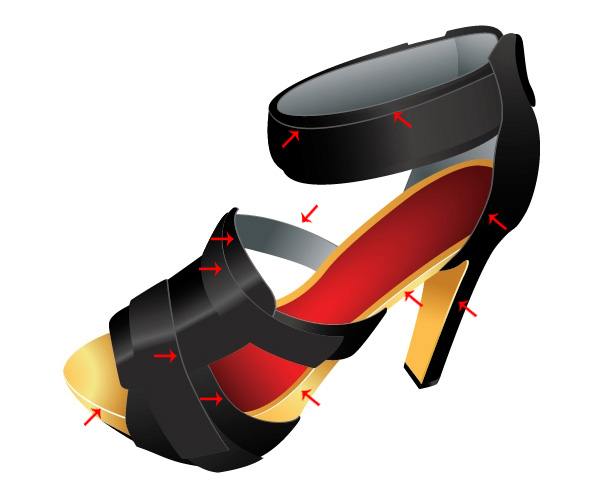
Repeat the technique above for other edges of the shoe. Below, you can see some of the locations where it’s a good idea to create highlights.
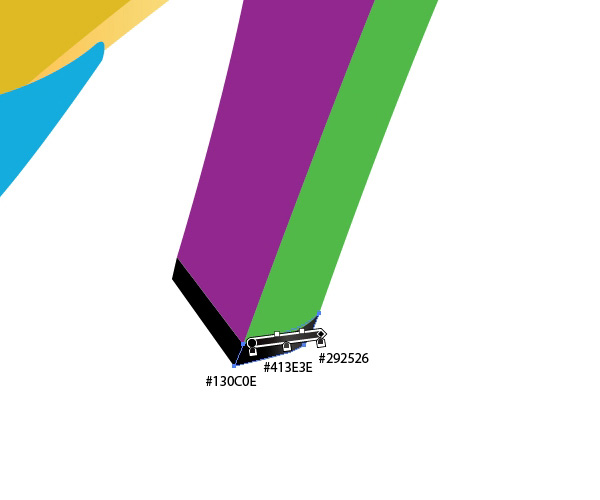
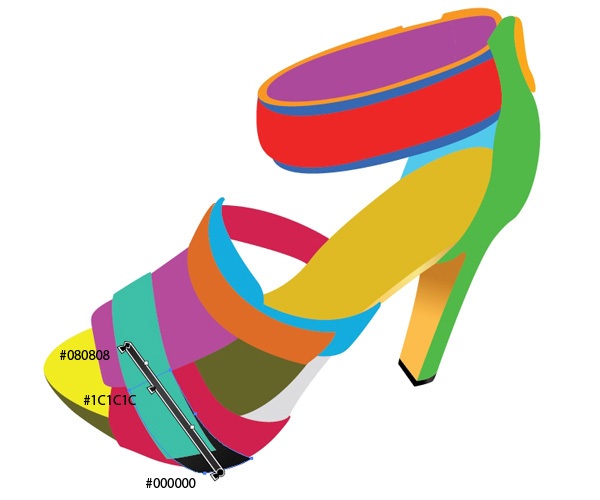
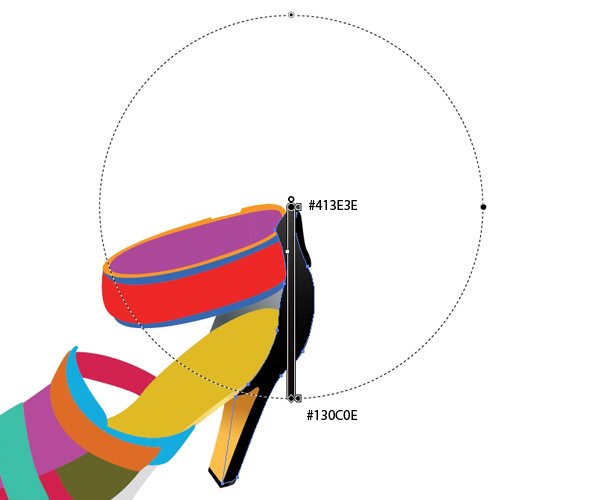
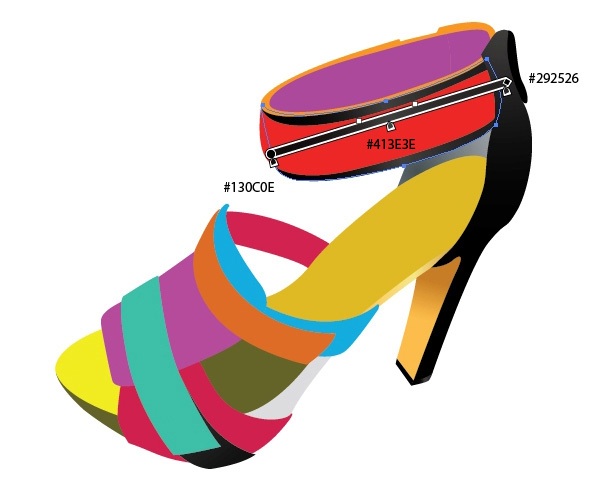
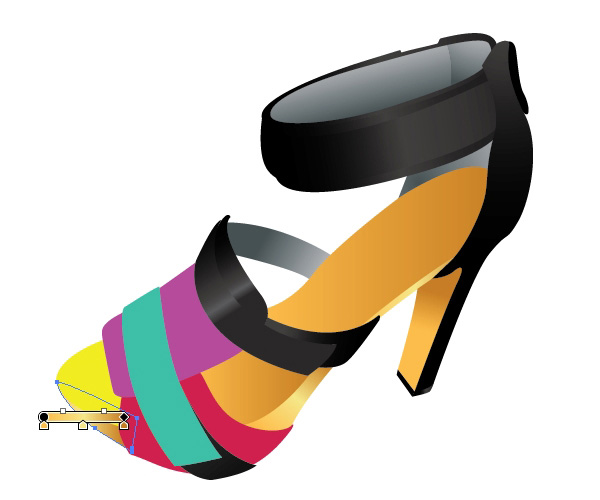
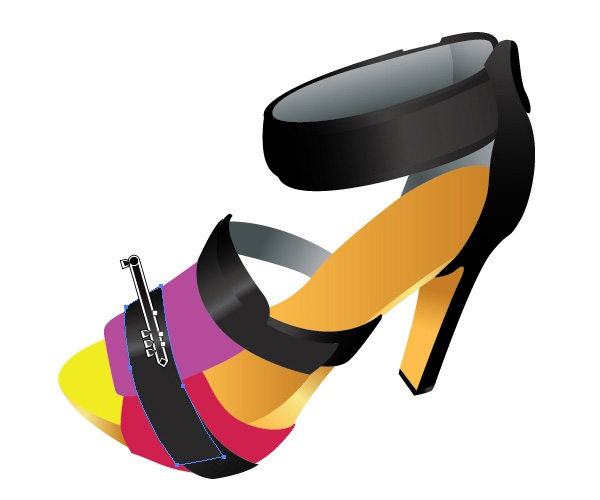
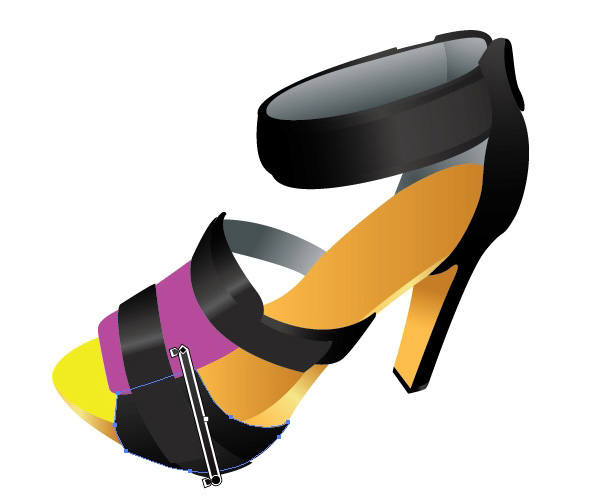
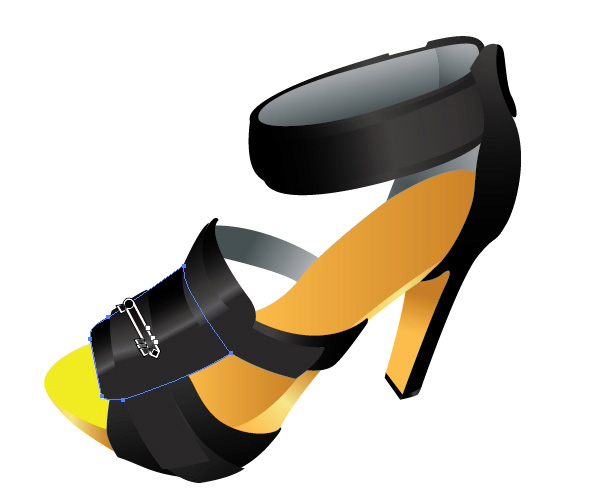
Step 5: Adding Surface Details to the Straps
Switch to the Pen Tool (P) and create the vector paths shown below. Make sure to create them such that they follow the contour of the shoe’s shape.
Make sure you have the Stroke Panel open (Window > Stroke or press Ctrl/Cmd + F10 to toggle its visibility).
In the Tools Panel, set the Stroke color to #414042.
In the Stroke Panel, check the box for the Dashed Lines option.
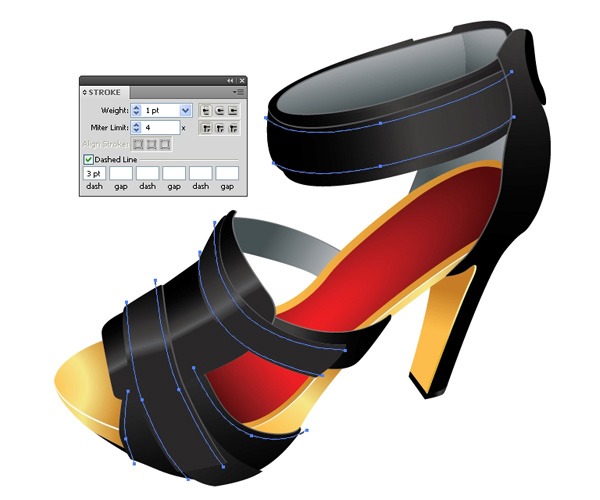
To remove any excess portions of the dashed lines, just use the Eraser Tool (Shift + E).
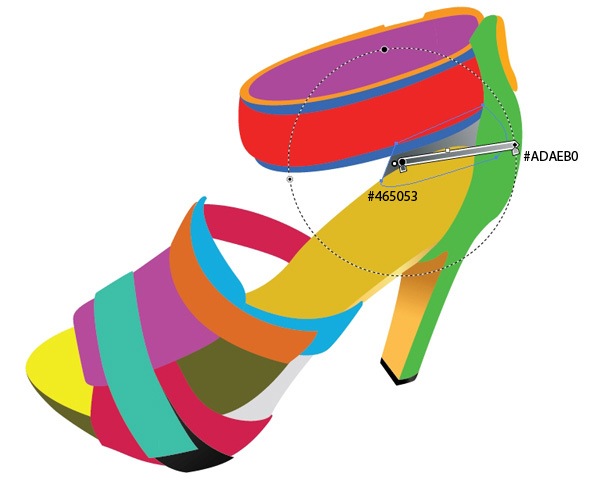
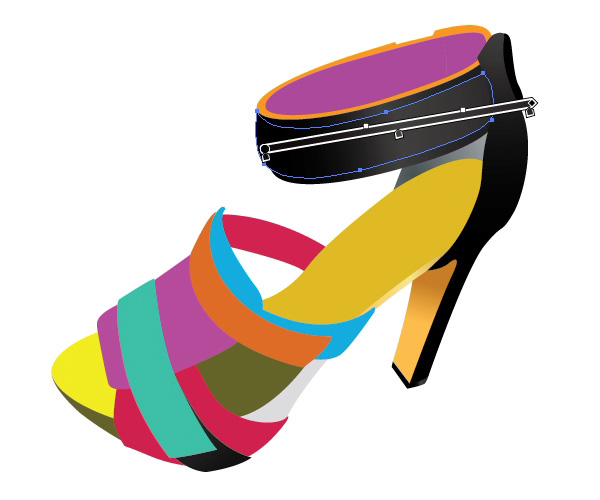
Step 6: Adding More Surface Details
There are a few more details you can add; use the image below for ideas.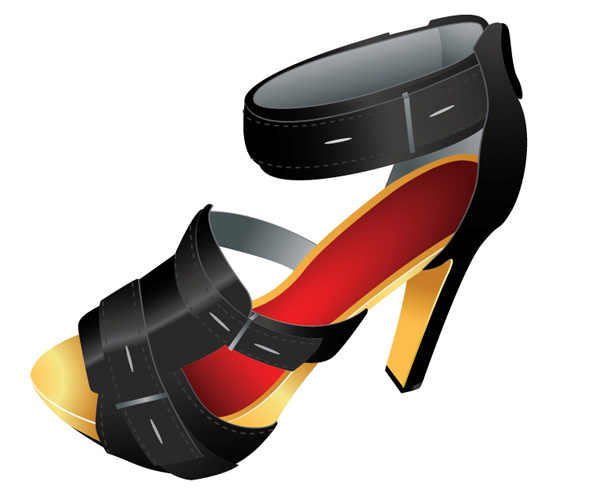
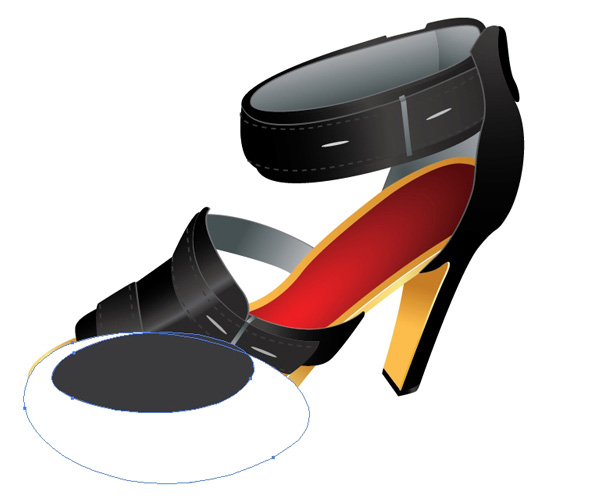
Step 7: Creating Shadows
This is our last step. To enhance the 3D appearance of our illustration, we can give it a drop shadow for enhanced depth.To start, grab the Pen Tool (P) and create the two shapes shown below.
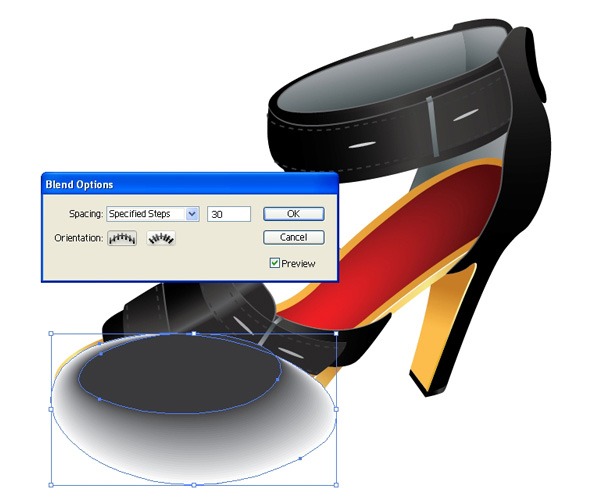
Select both shapes, go to Object > Blend > Blend Options and then, in the dialog box that appears, set the Spacing option to Specified Steps and type in 30 in the input box on the right of the option (which means the blend will be created using 30 steps).
Afterwards, create the blend by going to Object > Blend > Make.
Send the shadow behind the shoe by going to Object > Arrange > Send to Back (Shift + Ctrl/Cmd + [ ).
Use the technique above to create a shadow for the shoe’s heel.
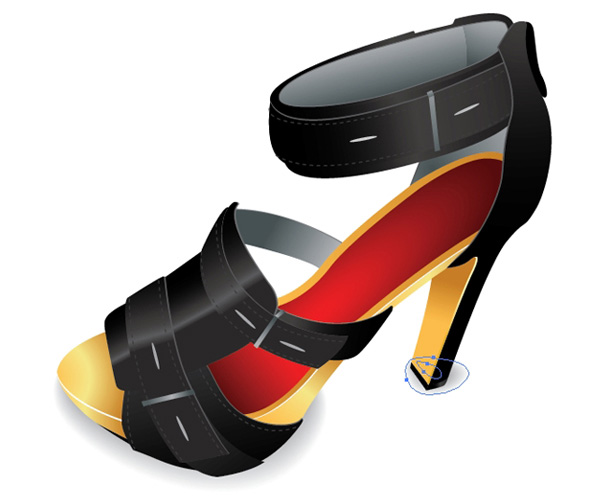
And we are done!
Tutorial Summary
The aim of this tutorial is to walk you through the process of creating a vector illustration using a reference photo.You can create amazing vector artwork just by tracing a reference image. All you have to do is to practice your Pen Tool prowess, study the image’s colors, and take note of how the object’s surface handles lighting.
Another thing I’d like to say — and you’ve probably heard it before — is that the details are worth paying attention to. Try to breathe life into your illustration by actually using and interacting with the subject (in this case, a shoe) if possible.
I hope you liked this tutorial. If you have any questions, feel free to post them in the comments section below.
Thank you for following along with me!
Download Source Files
- high_heel_illustrator (ZIP, 1.03 MB)
Tidak ada komentar:
Posting Komentar