Jumat, 04 Mei 2012

Create a Sketchy Hand-Drawn Camera Illustration in Illustrator

Final Image Preview

To begin with let’s have a look at the image we’ll be creating.

Step 1

Take a series of photos of your subject to decide which angle will work best. Here is the link to the camera image chosen.

Step 2

Import your chosen photo into Illustrator using File > Place. Lock this layer and create a new one on top of it.

Step 3

Choose a red 0.5 pt stroke, with no fill, and use the Pen tool to start tracing the outlines of your image. Start with the main outlines then the inner lines. You don’t have to be too accurate, as we’re going to be distorting the lines later.

Step 4

Use the Pencil tool to draw the finer details.

Step 5

Now that we’re done tracing we’re going to make the drawing feel more hand-rendered. Choose the Wrinkle tool (it’s in the Warp tool sub-menu).

Step 6

You might have to experiment with the settings to get the desired effect; here’s what I used.

Step 7

Lock your finer details by selecting them and hitting Command+2. Click quickly all over your image to wrinkle the lines.

Step 8

Now tidy up a bit using the Direct Selection tool to join up all the stroke ends again.

Step 9

You might also want to use Object > Path > Simplify to tidy up, especially if the wrinkle effect was too pronounced in an area.

Step 10

Now unlock all your lines, select them all, and make them black. Then vary the stroke widths a bit. Make the main outlines wider (around 1.5 pt) and the finer details thinner (0.5 pt – 0.7 pt).

Step 11

Now we’re going to make a custom art brush to apply to our lines. Draw a thin oval, as shown below.

Step 12

Use the Wrinkle tool again on it.

Step 13

Then scale it down vertically to make a thin line that looks like a scratchy ink line.

Step 14

Drag your line into the Brush panel and select Art Brush from the prompt.

Step 15

Apply your custom brush to the strokes. You might have to alter the stroke widths again to get it looking right.

Step 16

Now we’re done in Illustrator, and it’s time to add some color in Photoshop. (You could do all these steps within Illustrator too, but I find it easier in Photoshop.)
Paste your lines into Photoshop. Create a new white background layer below it. Then create another new layer in which you’ll add your first color.

Step 17

Use the Polygonal Lasso tool to roughly trace the main outline. Then fill it with a mid-toned color (it’s good not to use realistic colors, but tones of the same shade). Create a new layer above this one for each shade of color. Fill shadow areas with a darker tone and highlight areas with a lighter tone. Aim for about five separate colors.

Step 18

Finally, add some texture. Get a scan or stock image of some textured paper. I scanned in some paper for this design. You might have to up the brightness and contrast and set the color balance a bit more red/yellow for warmth. Paste the texture right above your background layer. Duplicate this layer and place it below the lines layer and above the colors. Set the Blending Mode to Pin Light and the Opacity to 20%.

Conclusion

One final tidy up of removing any bits that are too spiky and altering opacities on your color block layers slightly. I added a frame to suit the image’s subject – and it’s done!

The Best of Design Instruct eBooks are here! Visit the Products Page to learn more. How to Turn a Photo into Vector Artwork

Preview


Tutorial Resources

Step 1: Trace the Photo with the Pen Tool

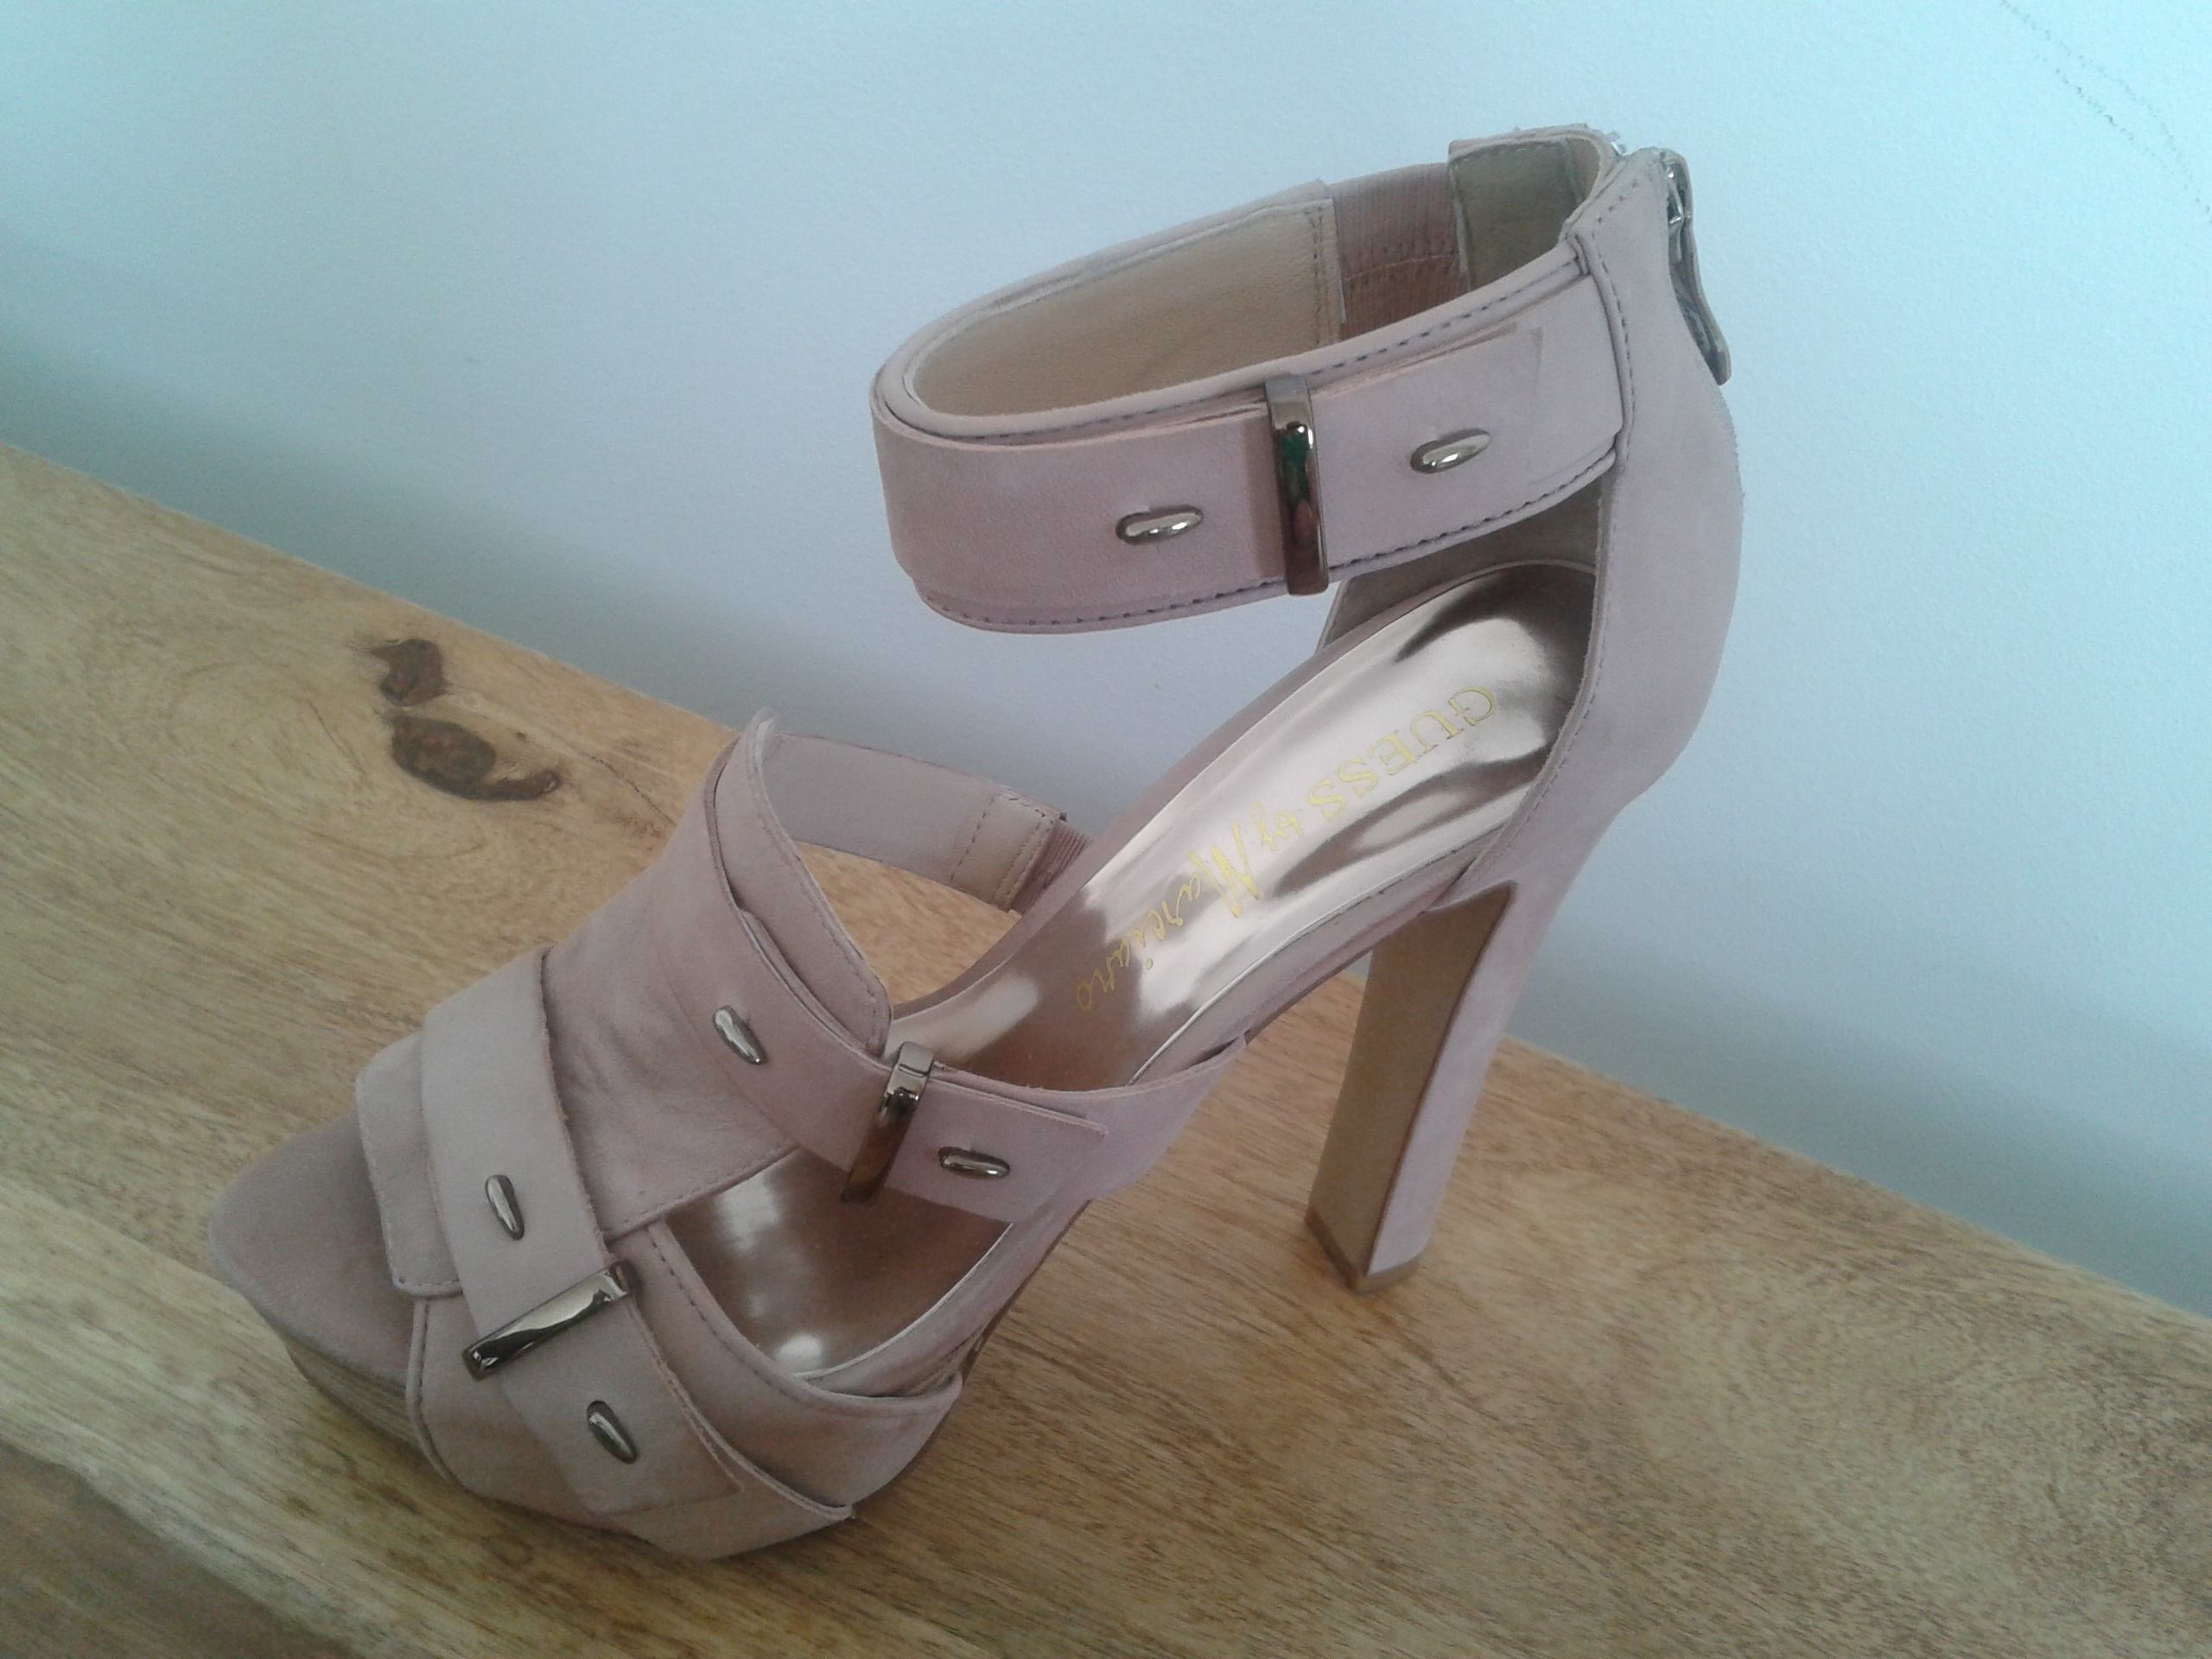
Download our reference photo and then open it in Adobe Illustrator. If you’d like to use your own shoe, feel free to do so!

In the Layers Panel, lock the reference image’s layer by clicking on the empty box beside the eye icon so we don’t accidentally move it around as we work. If done correctly, it should have an icon of a padlock indicating the layer is locked.
After that, create a new layer on top of the reference image layer.

Grab the Pen Tool (P) and start tracing the image. We’ll partition the shoe into small parts so that we’ll be able to manipulate them individually later on.


Your tracing doesn’t have to be perfect at first because you can always adjust your vector paths later on. Also, some parts of the shoe will be hidden behind other parts, so don’t worry if some of the edges aren’t completely perfect. We just need to make sure we’re creating smooth paths.
Let’s continue tracing. You can choose different Fill colors for each part of the shoe so we can see them better.


You should end up with something like the image below (note that I’ve hidden the reference photo temporarily):

Those are actually all of the parts we have to create.
I have to admit, right now, our work doesn’t look like a shoe I’d wear in public. That’s what we’ll work on next.

Step 2: Applying Colors and Gradients

Now, it’s time to apply some nice fill colors and color gradients to our vector objects.
Make sure to have the Gradient Panel open by going to Window > Gradient (Ctrl/Cmd + F9) because you’ll be using it extensively throughout this step.
Use the images below to see how to color each part of our high-heeled shoe illustration.


Use the same color gradient above for the strap by clicking on the strap to select it, choosing the Eyedropper Tool and then clicking on the vector object above to set the strap to the same color.

Do the same (use the same color gradient) for the strap’s edge.

Continue filling in the unfinished parts of the shoe.


You’ll notice that we’re using the same gradients for the other parts of the shoe (we’re only changing the gradient’s starting position and its angle).


Step 3: Create the Insole Surface

Select the inner side of the shoe and then go to Object > Path > Offset Path. Set the Offset value to -5. Repeat this process for the lower part of the shoe.

Apply a red color gradient on the new path.


Step 4: Adding Highlights

We could say that our shoe is finished, but since we’re trying to make the illustration as realistic as possible, we need to give it some highlights.
Select the inner part of the heel and then duplicate it twice by first copying it (Ctrl/Cmd + C) and then pasting in front (Ctrl/Cmd + F) two times.
Nudge one of the duplicates to the left by 1px using your Left Arrow key.
Next, select both the duplicates and then, in the Pathfinder Panel, hit the Minus Front button.

Apply a subtle gradient to the resultant object.

Repeat the technique above for other edges of the shoe. Below, you can see some of the locations where it’s a good idea to create highlights.

Step 5: Adding Surface Details to the Straps

Switch to the Pen Tool (P) and create the vector paths shown below. Make sure to create them such that they follow the contour of the shoe’s shape.

Make sure you have the Stroke Panel open (Window > Stroke or press Ctrl/Cmd + F10 to toggle its visibility).
In the Tools Panel, set the Stroke color to #414042.
In the Stroke Panel, check the box for the Dashed Lines option.

To remove any excess portions of the dashed lines, just use the Eraser Tool (Shift + E).

Step 6: Adding More Surface Details

There are a few more details you can add; use the image below for ideas.

Step 7: Creating Shadows

This is our last step. To enhance the 3D appearance of our illustration, we can give it a drop shadow for enhanced depth.
To start, grab the Pen Tool (P) and create the two shapes shown below.

Select both shapes, go to Object > Blend > Blend Options and then, in the dialog box that appears, set the Spacing option to Specified Steps and type in 30 in the input box on the right of the option (which means the blend will be created using 30 steps).
Afterwards, create the blend by going to Object > Blend > Make.

Send the shadow behind the shoe by going to Object > Arrange > Send to Back (Shift + Ctrl/Cmd + [ ).
Use the technique above to create a shadow for the shoe’s heel.

And we are done!

Tutorial Summary

The aim of this tutorial is to walk you through the process of creating a vector illustration using a reference photo.
You can create amazing vector artwork just by tracing a reference image. All you have to do is to practice your Pen Tool prowess, study the image’s colors, and take note of how the object’s surface handles lighting.
Another thing I’d like to say — and you’ve probably heard it before — is that the details are worth paying attention to. Try to breathe life into your illustration by actually using and interacting with the subject (in this case, a shoe) if possible.
I hope you liked this tutorial. If you have any questions, feel free to post them in the comments section below.
Thank you for following along with me!

Download Source Files

Share To